Your virtual & physical Rho cards can now be added to your Apple or Google Wallet for a quick, contactless, and secure way to pay.
Note: Currently, we don't support adding Rho cards to WeChat.
Set up is simple - follow the steps below to get started:
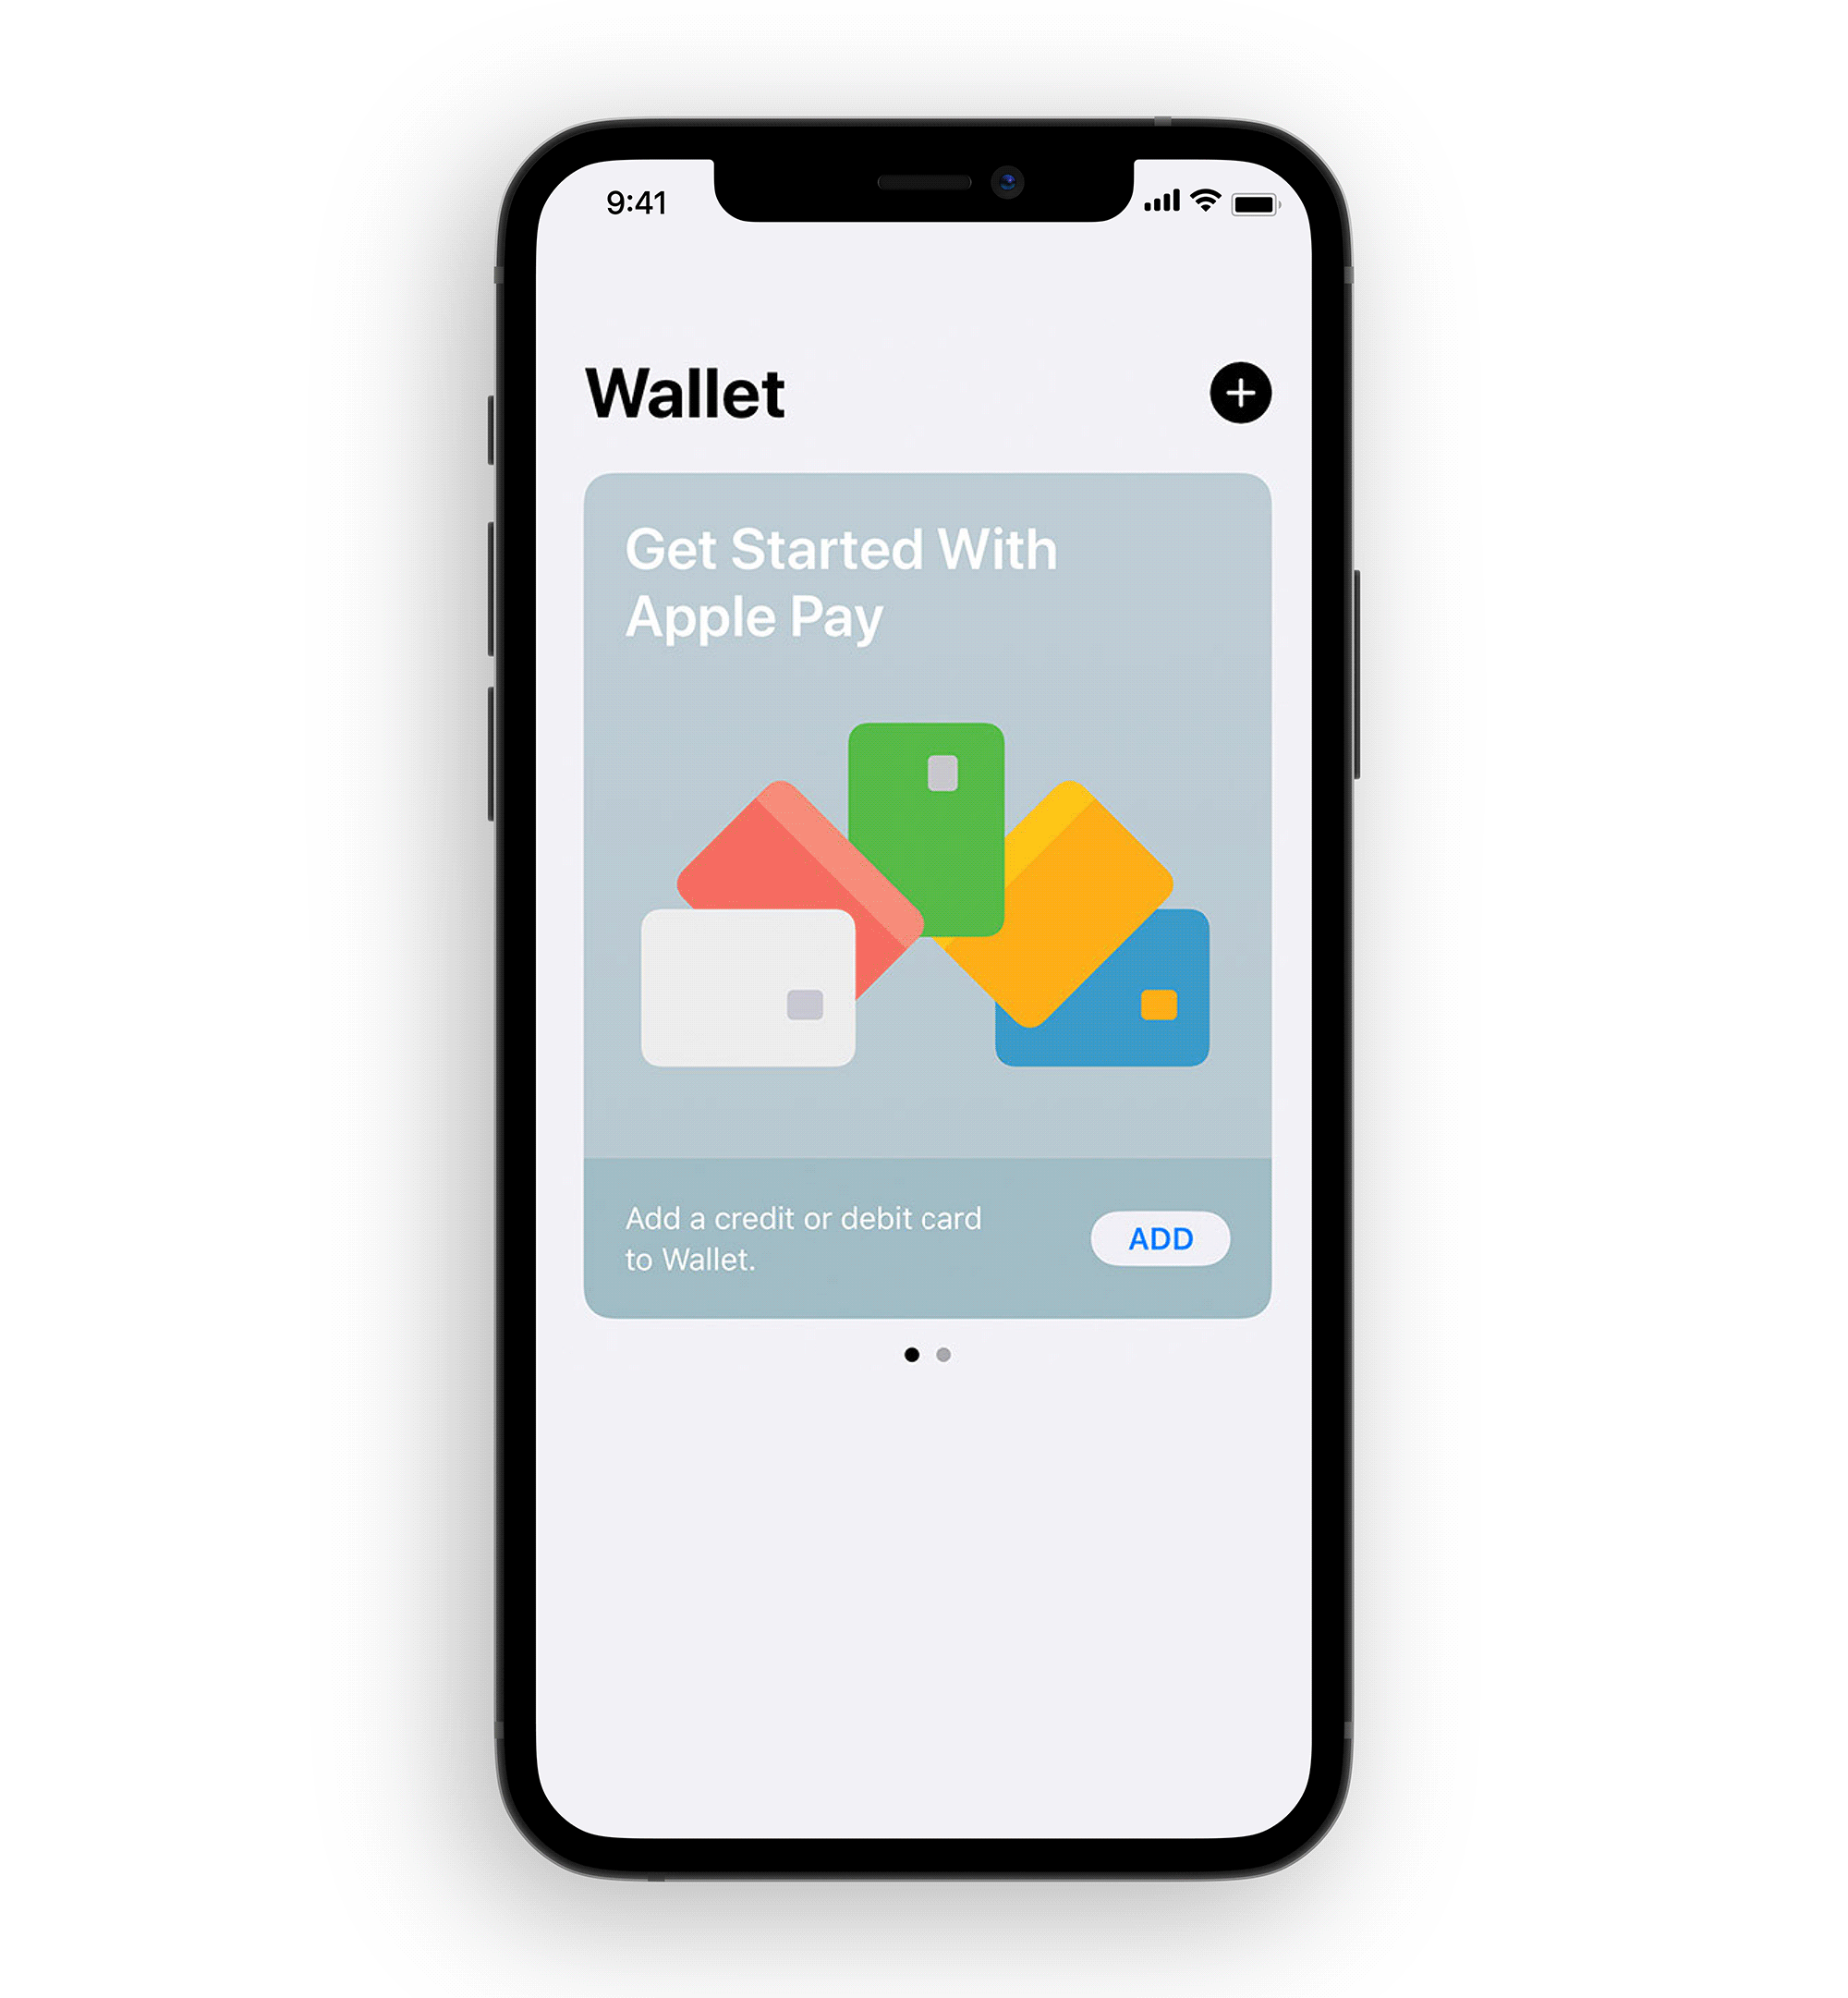
Apple Wallet
- Go to your Wallet app and click the + button in the right-hand corner.
- Select the Card Type “Credit”.
- Position your Rho physical or virtual card in the frame using your camera to virtually add your card details. Alternatively, you may click “Enter Card Details Manually.”
- Verify your card details are correct and enter your 3-digit CVV security code.
- Review Rho’s Terms & Conditions and click “Agree.”
- For your added security, you may be asked to verify your Rho Card account via two-factor authentication by “Text Message”, “Email”, or "Authenticator App", if you have set it up.
- A six-digit code will be sent to your email address, phone number on file, or the Authenticator App, enter your code in the field provided.
- Your Rho Card is now active in your Apple Wallet and ready to use at contactless point-of-sale terminals that support Apple Pay.
For more information, see Apple’s support document.
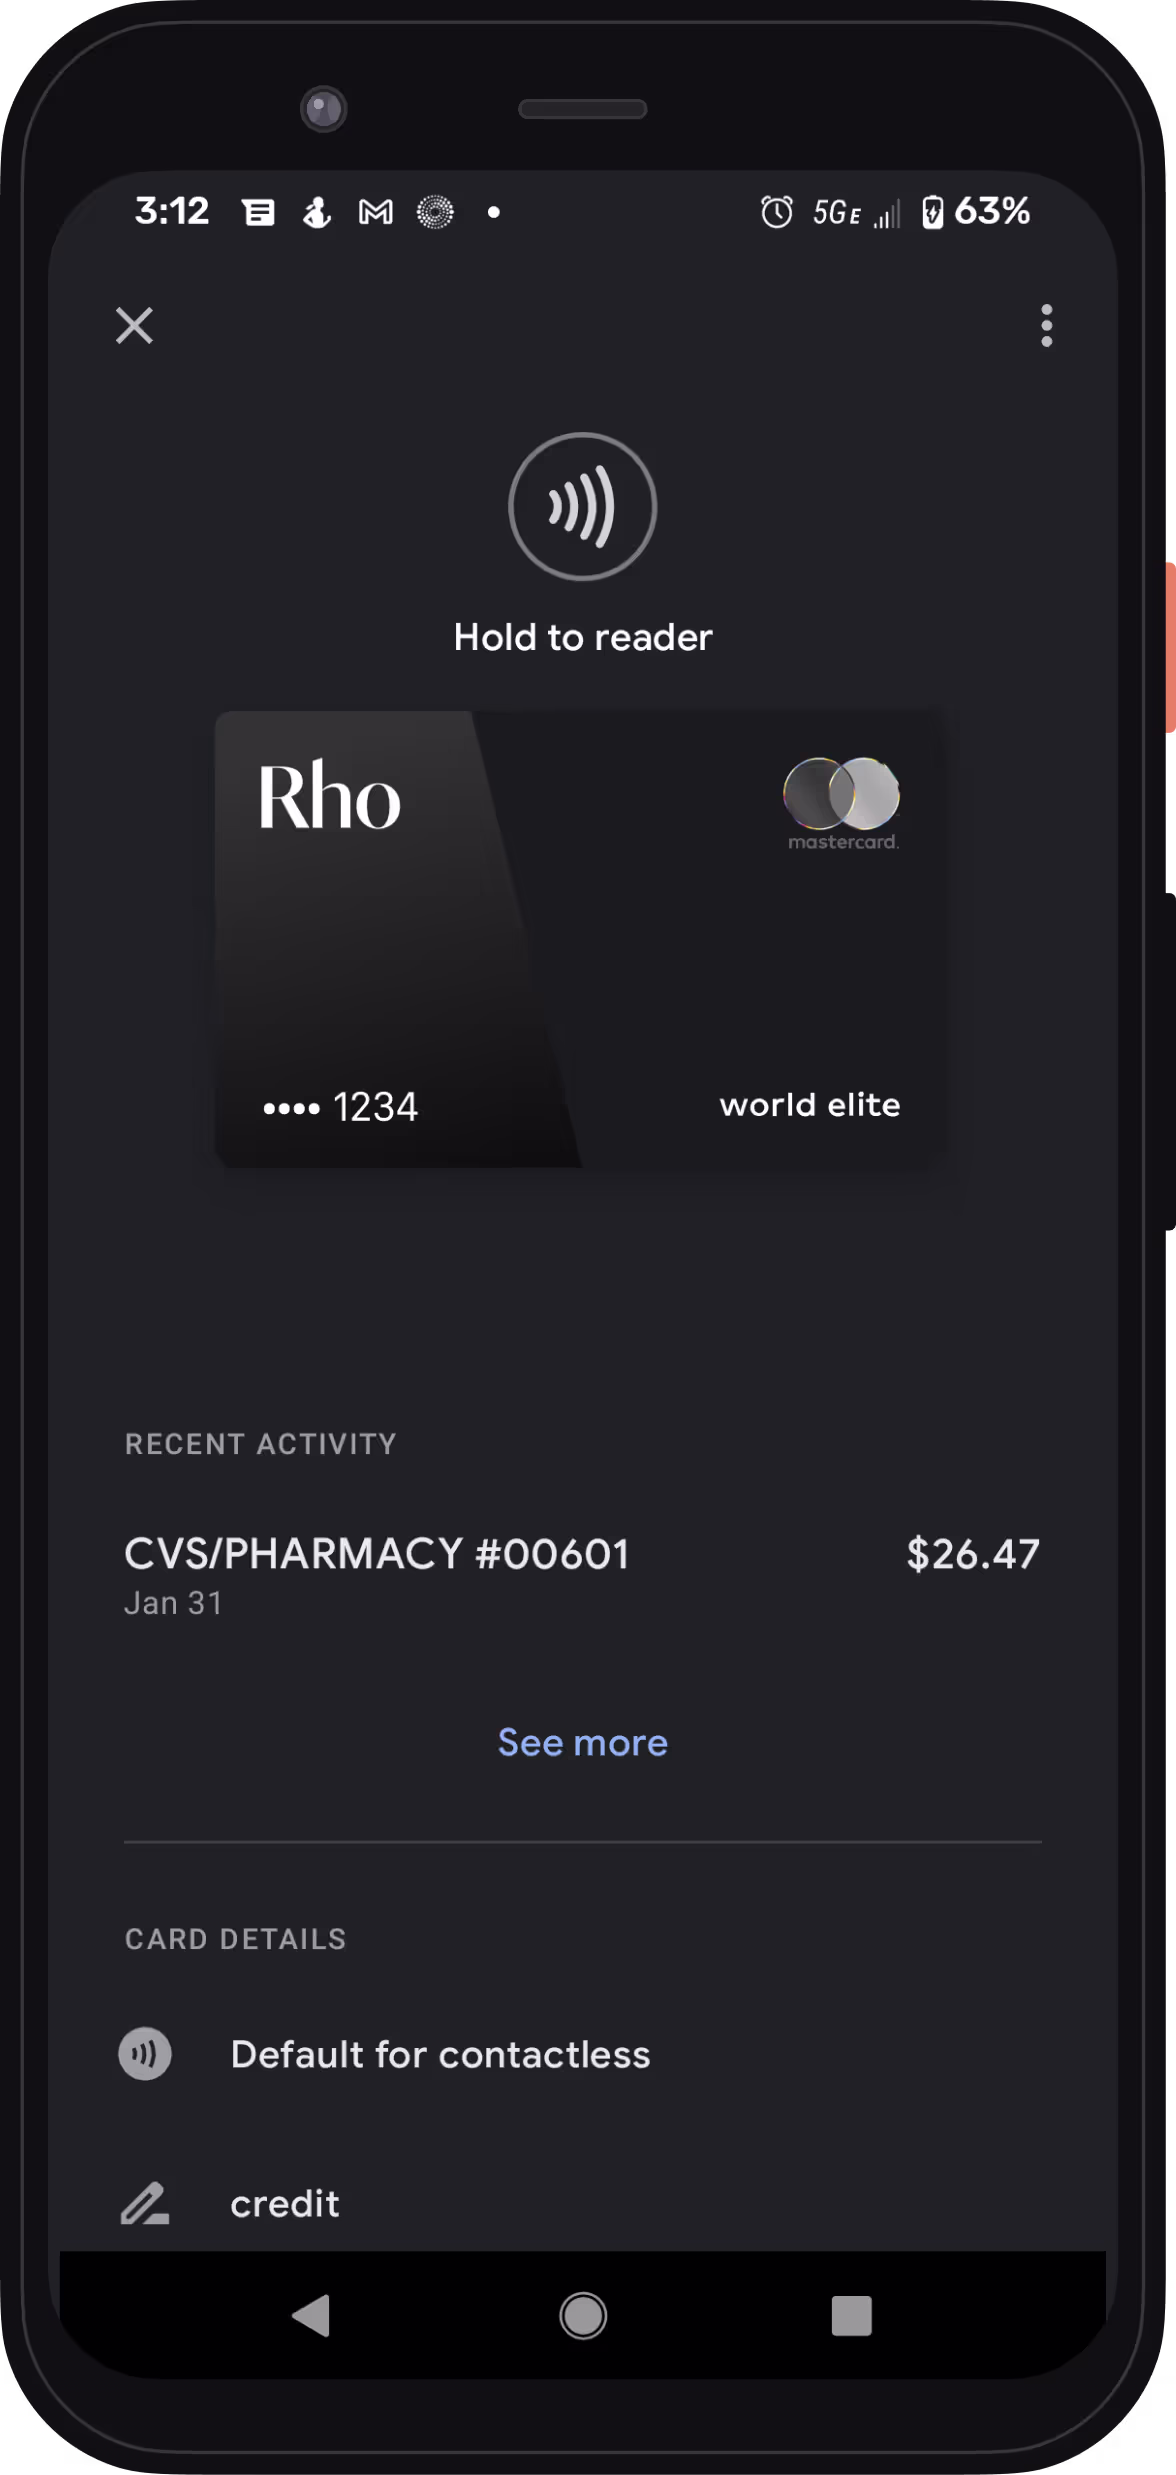
How to use your Rho Card in Apple Pay at a contactless point-of-sale terminal
- Select your Rho Card via the Apple Wallet app.
- Double-click the right-hand button on the side of your iPhone when a near contactless point-of-sale terminal.
- Verify your identity using Face ID or your Passcode.
- You will now be prompted to hold your phone near the contactless reader.
- Hold near the reader until the purchase has been completed.
Google Wallet
Your virtual & physical Rho cards can now be added to your Google Wallet on your Android device for a quick, contactless, and secure way to pay.
Set up is simple - follow the steps below to get started:
- Open your Google Pay (GPay) app on your Android device and click the image of a card in the right-hand corner.
- This will open a screen that shows you all the cards you have linked to your wallet. Select “Add a Card” at the bottom of the screen.
- Select the Payment Method “Credit or debit card.”
- Take a picture of your Rho physical card or the virtual card in your Rho dashboard. Your phone will recognize your card details and then you must enter your 3-digit CVV security code. Alternatively, you may enter your card details manually.
- Make sure your address, ZIP code, and phone number match your settings in your Rho account. The address should be your organization’s billing address. Press Save.
- Review Rho’s Terms & Conditions and click “Accept & continue.”
- For your added security, you may be asked to verify your Rho Card account via two-factor authentication by “Text Message” or “Email.”
- After you receive your six-digit verification code by text or email, enter it and click Submit.
- Your Rho Card is now active in your Wallet and ready to use at contactless point-of-sale terminals that support Google Pay.
For more information visit the Google Pay Help Center


.avif)
.avif)