Users with Account Owner, Administrator, and Bookkeeper user roles can assign banking transactions to a specific department in two different ways.
Assign a Department from Transaction Details
First, log into your Rho dashboard and in the Banking tab, navigate to your desired account and select the relevant transaction.
Clicking on a transaction opens the Transaction Details slide-out window, where you can expand the Rho Attributes section, then click Add Department. This will prompt a dropdown list of all of your created departments form which you can select.
You can also click on the specific transaction and assigned a department to it:

Assign a Department from Transactions Table
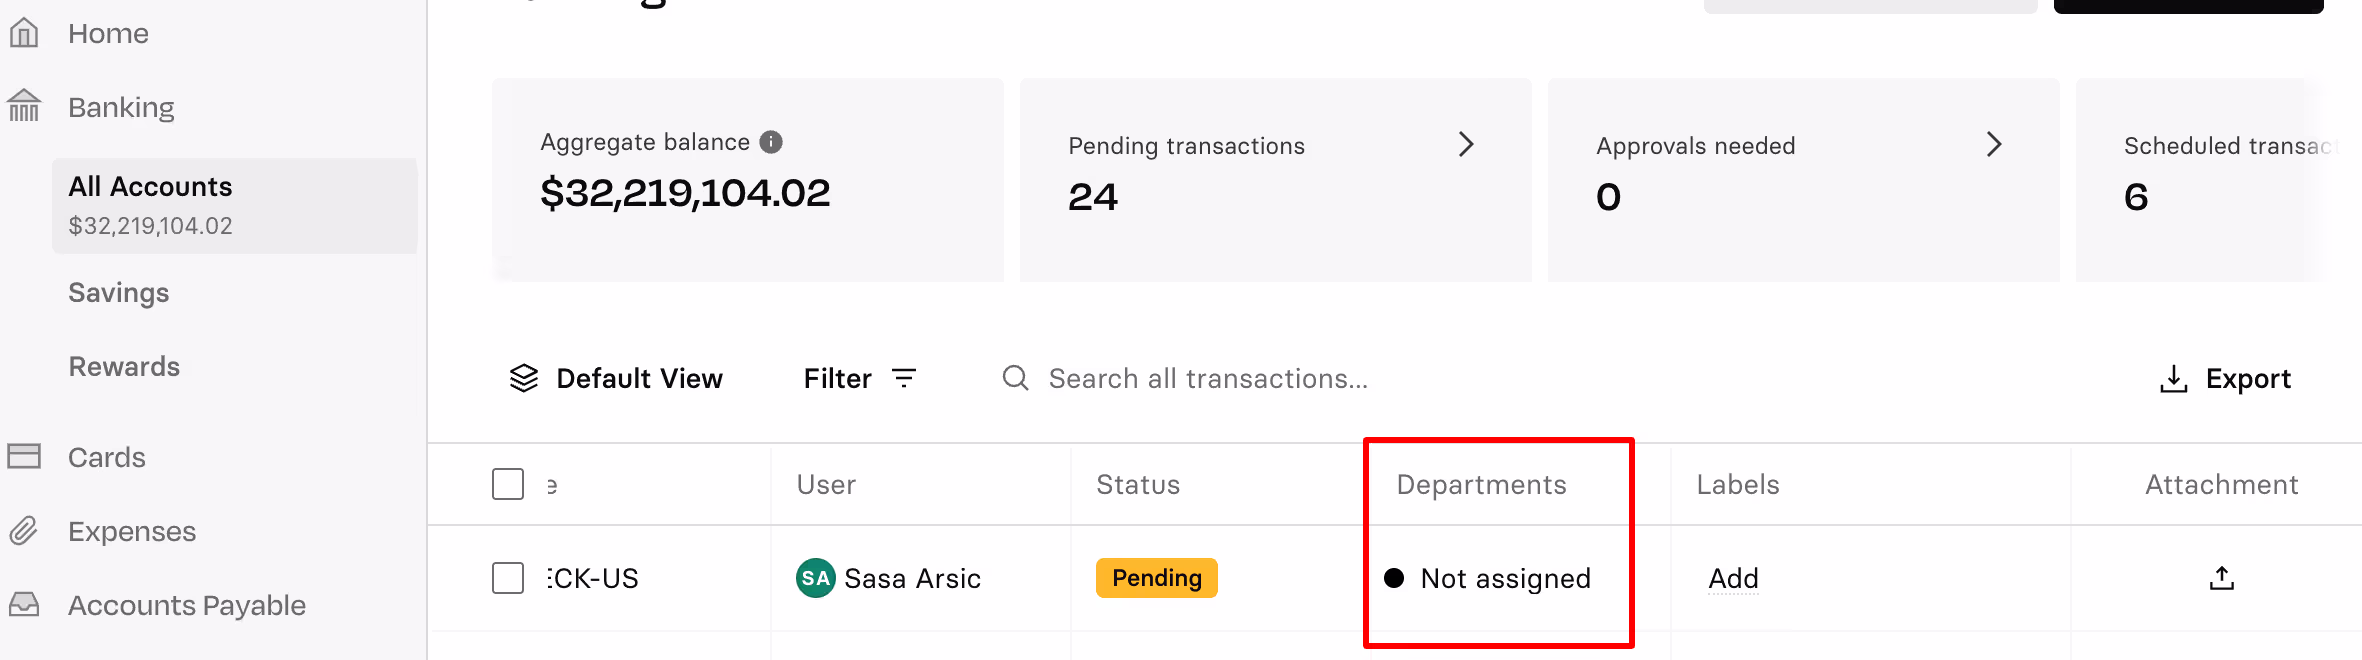
Alternately, you can edit the department of a transaction directly from the All Recent Activity transactions table by clicking the department variable dropdown icon 'v' in the Department column and assigning the relevant value.
To learn how to assign card transactions to a department, see here.
To assign an expense to multiple departments, you must split the transaction. For more information, see How do I split a transaction between multiple departments?


.avif)
.avif)