Rho’s expense management tool enables all members of your organization to track spend, get approvals, and review unexpected or out-of-policy spend. For a high-level overview of the expenses tab and its functionality, please see Understanding the Expenses Tab.
The Expenses view (Expenses > Company) is targeted towards what’s most important for you to know, based on your role. If you’re an approver, you’ll see expenses that require your immediate action. If you disburse, you’ll see a list of reimbursements ready to be paid out.
Customizing Your View
The headers at the top of the Expenses tab highlight a summary of categories that may need your attention, summarizing them by Amount. To auto-show this view, click on the filter icon next to the amount.
The default view is set to the last 60 days, but a new date range can be set by navigating to Filter > Date.

To personalize your view, click Filter on the top header. You will be able to filter by your desired criteria
Search and Filter for Expenses
To help quickly locate specific Expenses, leverage the new filter system or simply search for an expense by name.
- Click on a column name to view options for arranging the data
- Note that options vary by column.
- Click on the filter icon in the navigation bar to see grouping and sorting options
- You will be able to filter by your desired criteria.

- Search for Expenses by name
Create and Save Custom Table Views
Creating and saving custom table views in the Rho application has been simplified to enhance user experience. Follow these steps to efficiently create and save your custom views:
- Navigate to the table you wish to customize.
- Select which columns you want to display or hide in your custom view.
- Use the filter options provided to set your desired criteria.
- Once you've entered your main criteria, you will be able to click on the Save As a New View button
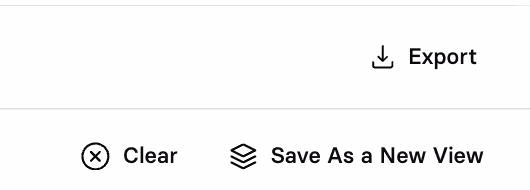
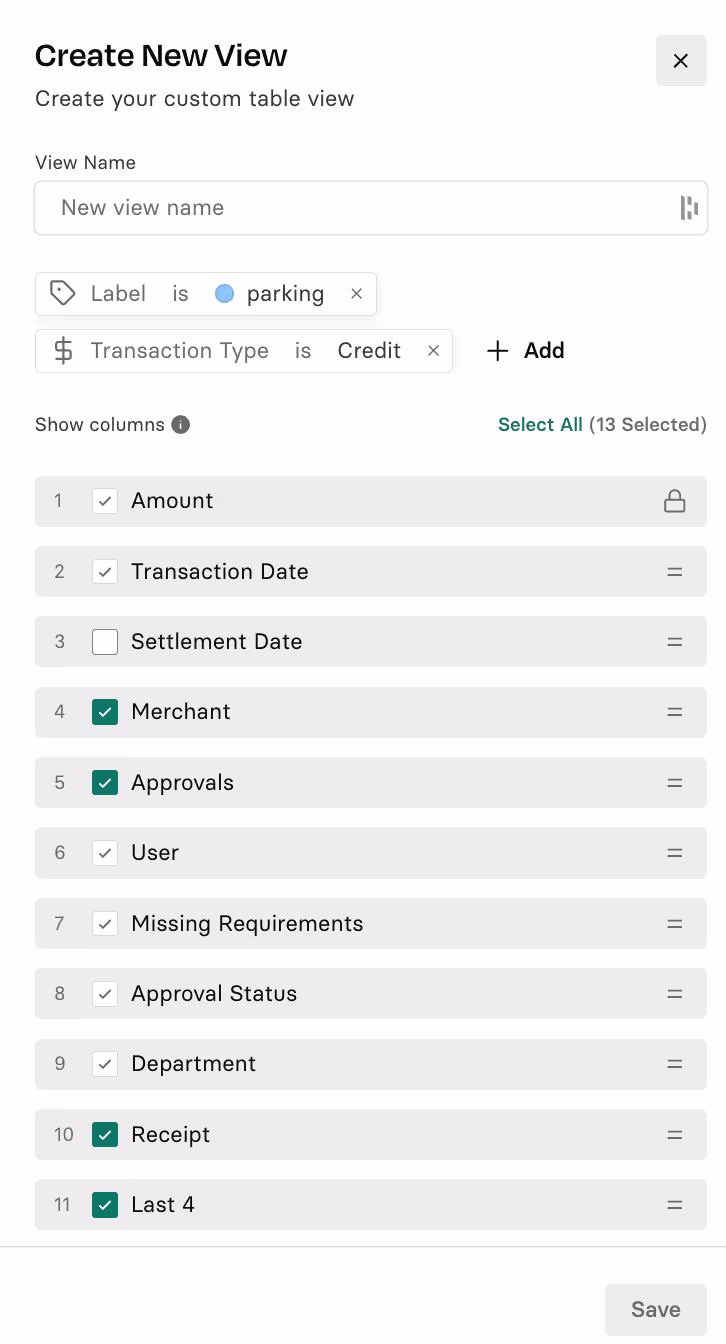
- A new side bar will appear where you can add additional filters, name your view, and save it.
- Your new custom view will be saved and ready to use.
Custom Table Views should help to significantly reduce the time and effort required to search for your desired transactions.


.avif)
.avif)