We know every Rho customer is unique and has different business needs which impact how their employees interact with the Rho platform. For this reason, our user management feature equips Account Owners and Administrators with full control over how your users interact with the platform and what they can access.
To manage or edit user access, first log in to your Rho Dashboard.
Once logged in to your Rho dashboard, select the User Management tab in the left navigation menu.

Under User Management, you will see two tabs: Users and Groups. This article is split into two sections accordingly: managing Individual Users and managing Groups.
Managing Individual Users
In the User tab, admins can create, manage, and view all user profiles of their organization for streamlined administration and updates.
Add a New User
To add a new user, navigate to User Management > Users. In the Users tab, click the Invite User button in the top right corner of the dashboard.

The drop down will prompt you to either Add User or Import Users.
- To Add a User, fill in the details in the pop-up form and save and submit your changes by clicking Invite User.
- To Import Users, upload a CSV file with the information of one or more users. Please refer to our template CSV file to ensure the correct format for importing.
Form Fields:
- First Name: Specify the user’s first name.
- Last Name: Specify the user’s last name.
- Email Address: Specify the user’s email address. When the profile is created, the Rho application sends an email message to the user inviting them to the Rho application.
- Phone Number: Specify the user’s phone number. If this phone number is a cell phone, the user can use this number for two-factor validation when required.
- User Group: Click the drop-down list and select the desired role for the user in the Rho application. For more information about User Roles, see our Group Tab.
- Monthly User Spending Limit: Enter the amount of money the user can spend in a calendar month.
Edit a User Profile
To edit an individual user’s information, navigate to User Management > Users. In this tab, you will see a list of all users. Select the desired user by clicking their name, which opens a new window with their information and details.
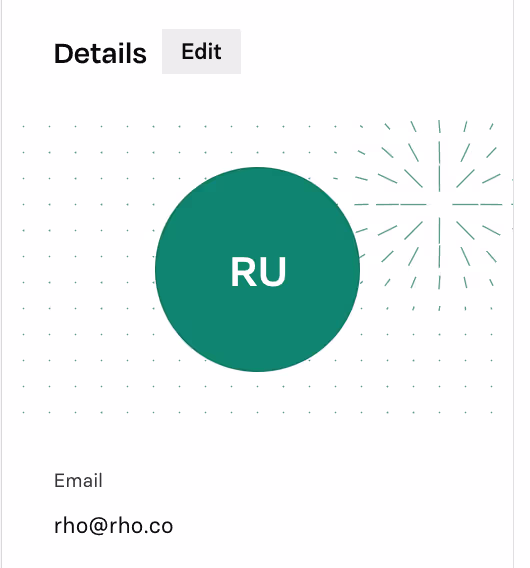
Under their name, click the Edit button. In the pop-up form, make your desired changes, then save and submit them by clicking Save.
Delete a User
To delete an individual user, navigate to User Management > Users. In this tab, you will see a list of all users. Select the desired user by clicking their name, which opens a new window with their information and details.
Under their name, click the Edit button. In the bottom left corner, click the red Delete User button on the form.
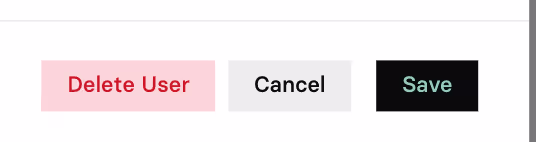
This prompts a final pop-up confirming the deletion. Please note deletions are permanent and irreversible.
Managing Groups
Similar to the User tab, the Groups tab allows you to view and manage all of your user groups in one place. In this tab, you can:
- View details for each user group and users who belong to each group. You may also search for and directly add or remove users from groups here.
- View and edit default user groups, which Rho has pre-designed to address common client user roles and their likely access level needed.
- Create and define new, customizable user groups based on specific control preferences and your organization’s needs.
Default User Groups
Rho has six pre-set user groups, which are available to use as defaults. These are Account Owner, Administrator, Budget Owner, Employee, Bookkeeper, and Investor. Each of these user groups has a unique package of permissions and pre-set controls to minimize set-up time.
See below for the six default user groups and their descriptions:
Edit Permissions of Default User Groups
While the Default User Groups have pre-set permissions, further customizations may be made to the Budget Owner, Employee, Bookkeeper, or Investor groups. Note that the Account Owner or Administrator is not editable.
In the User Management > Groups tab, from the list on the left hand of the screen, select the Group that you would like to make changes to. This will open a larger window with your selected Group’s details.
From here, click on the black Change Permissions button seen under the Permissions tab.
For an in-depth glossary of permission definitions, please reference our User Permissions Glossary.

Make your desired changes to the group permissions by using the on/off toggles.
Finally, save and submit your changes by clicking the Save Changes button, which replaced the Change Permissions button.
Create New User Groups
If you don’t want to use a pre-configured User Group, you can create a new group in the Groups tab.
Navigate to the User Management > Groups tab. In the upper right corner, click the Create Group button.

This will open a small window, where you will name your new Group and customize the controls and permissions.

In the Permissions section, all permissions will be toggled to the Off status as default. Flip the toggle to the On status to enable your users within this group to use the desired functionality.
For an in-depth glossary of permission definitions, please reference our User Permissions Glossary.
Finalize the creation of your new Group and submit your changes by clicking the Save button.
Duplicate User Groups
Existing User Groups (with the exception of Account Owner and Administrator) may be duplicated for your convenience. This includes customer Groups you have created, as well as most Default Groups.
First, navigate to the User Management > Groups tab. Once in this tab, select the Group that you would like to duplicate from the list of existing Groups on the left hand of the screen.
This will open a larger window with your selected Group’s details.
Click on the three dots at the top left corner, and select Duplicate Group from the drop-down.

This will pre-populate a new Group with the original Group’s permissions toggled to the respective On or Off statuses. The last step is to name your new group and add a description.
To finalize the creation of this new group, click the Save button to save and submit your changes.
Delete User Groups
First, navigate to the User Management > Groups tab. Once in this tab, select the Group that you would like to delete from the list of existing Groups on the left hand of the screen. This will open a larger window with your selected Group’s details.
Click on the three dots at the top left corner, and select Delete Group from the drop-down.
This will prompt a pop-up asking to confirm the deletion. Click the red Confirm Deletion button to complete the action. Note that once a Group is deleted, it cannot be restored.


.avif)
.avif)