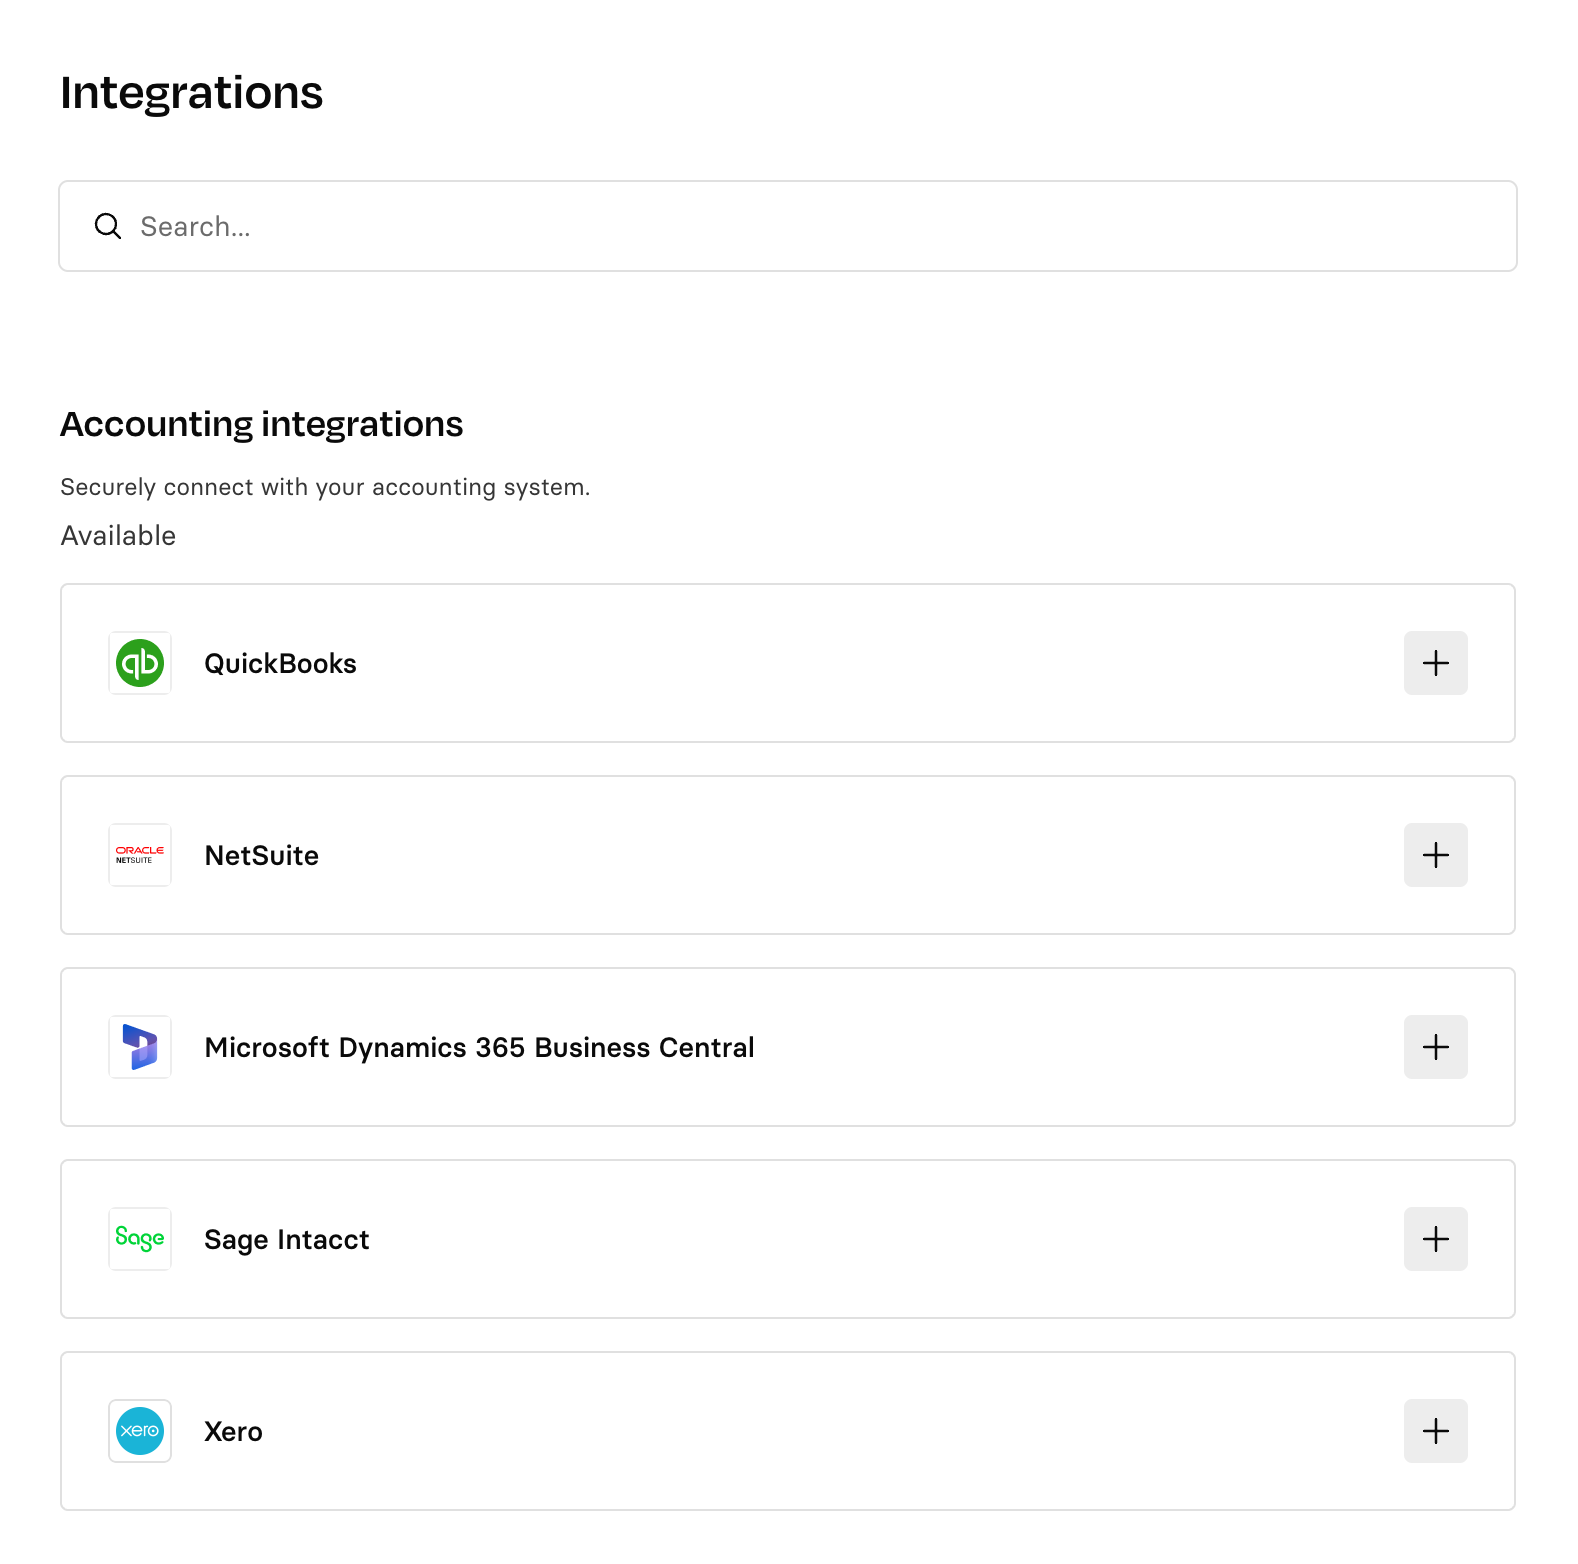
With Rho's native NetSuite integration, you can eliminate manual data entry and automate everyday workflows. Rho connects directly via APIs to NetSuite—not via the bank feed on NetSuite—for a seamless, automated integration experience.
Follow the step-by-step instructions below to set up an integration between your Rho Account and your existing NetSuite account.
Before you Proceed:
- Your dedicated Client Development Specialist is here to guide you through the integration setup; please give us a call before you begin.
- Please ensure you are signed in as an Administrator on NetSuite and that you are a Bookkeeper, Admin, or Account Owner in Rho.
Navigate to the Integrations Setup Page in Rho
Sign into Rho’s platform and click the Integrations icon from the left-hand navigation bar. Then click the NetSuite icon and select Connect to NetSuite from the dropdown.
You will be directed to the Integration setup page for NetSuite, click Get Started.
1. Enable integration functionality in NetSuite
In NetSuite, hover over Setup → Company, and click Enable Features. When in the Enable Features page, select the SuiteCloud tab. Under the SuiteCloud tab, go to the section SuiteCloud (Web Services) and please ensure the following 3 checkboxes are checked:
- SOAP WEB SERVICES
- REST WEB SERVICES
- TOKEN BASED AUTHENTICATION
Click Save.
2. Create the integration in NetSuite
In NetSuite, navigate to Setup → Integration → Manage Integrations and click New.
- Name the integration "Rho Integration"
- Under Token-Based Authentication, check the boxes for TOKEN-BASED AUTHENTICATION and TBA: AUTHORIZATION FLOW.
- Under TBA: AUTHORIZATION, paste in the below callback URL: https://api.rho.co/webhook/netsuite_authorize_callback
- Uncheck the AUTHORIZATION CODE GRANT in the OAuth 2.0 section
- Click Save.
IMPORTANT: After saving, you will receive two credentials at the bottom of the page: Consumer Key and Consumer Secret. Please copy and save these nearby (e.g. in a notes document), as you will need them in Step 5.
3. Install the bundle in NetSuite
In NetSuite, go to Customization → SuiteBundler and click on Search & Install Bundles.
- Type into the search bar "Rho Accounting Integration"
- Select and install the bundle with the bundle ID: 436739. It is key that you select 'Install Bundle', or the integration will not work.
Please Note: NetSuite may take a few minutes to download the bundle.
4. Deploy the script
- After installing the bundle, go to Customization → Scripting → Scripts → New.
- Select or type in rho_production.js and click Create Script Record
- Name the script “Rho Integration API”, then click the arrow on the save button and click Save&Deploy
- In the Script Deployment screen, set the Status to Released and the Log Level to Error
- Under Audience → Roles check Select All
Click Save
IMPORTANT: After saving, you will receive the External URL. Please copy everything that comes after "restlet.nl?” (See screenshot example below). Save this nearby, you will need this in Step 5.

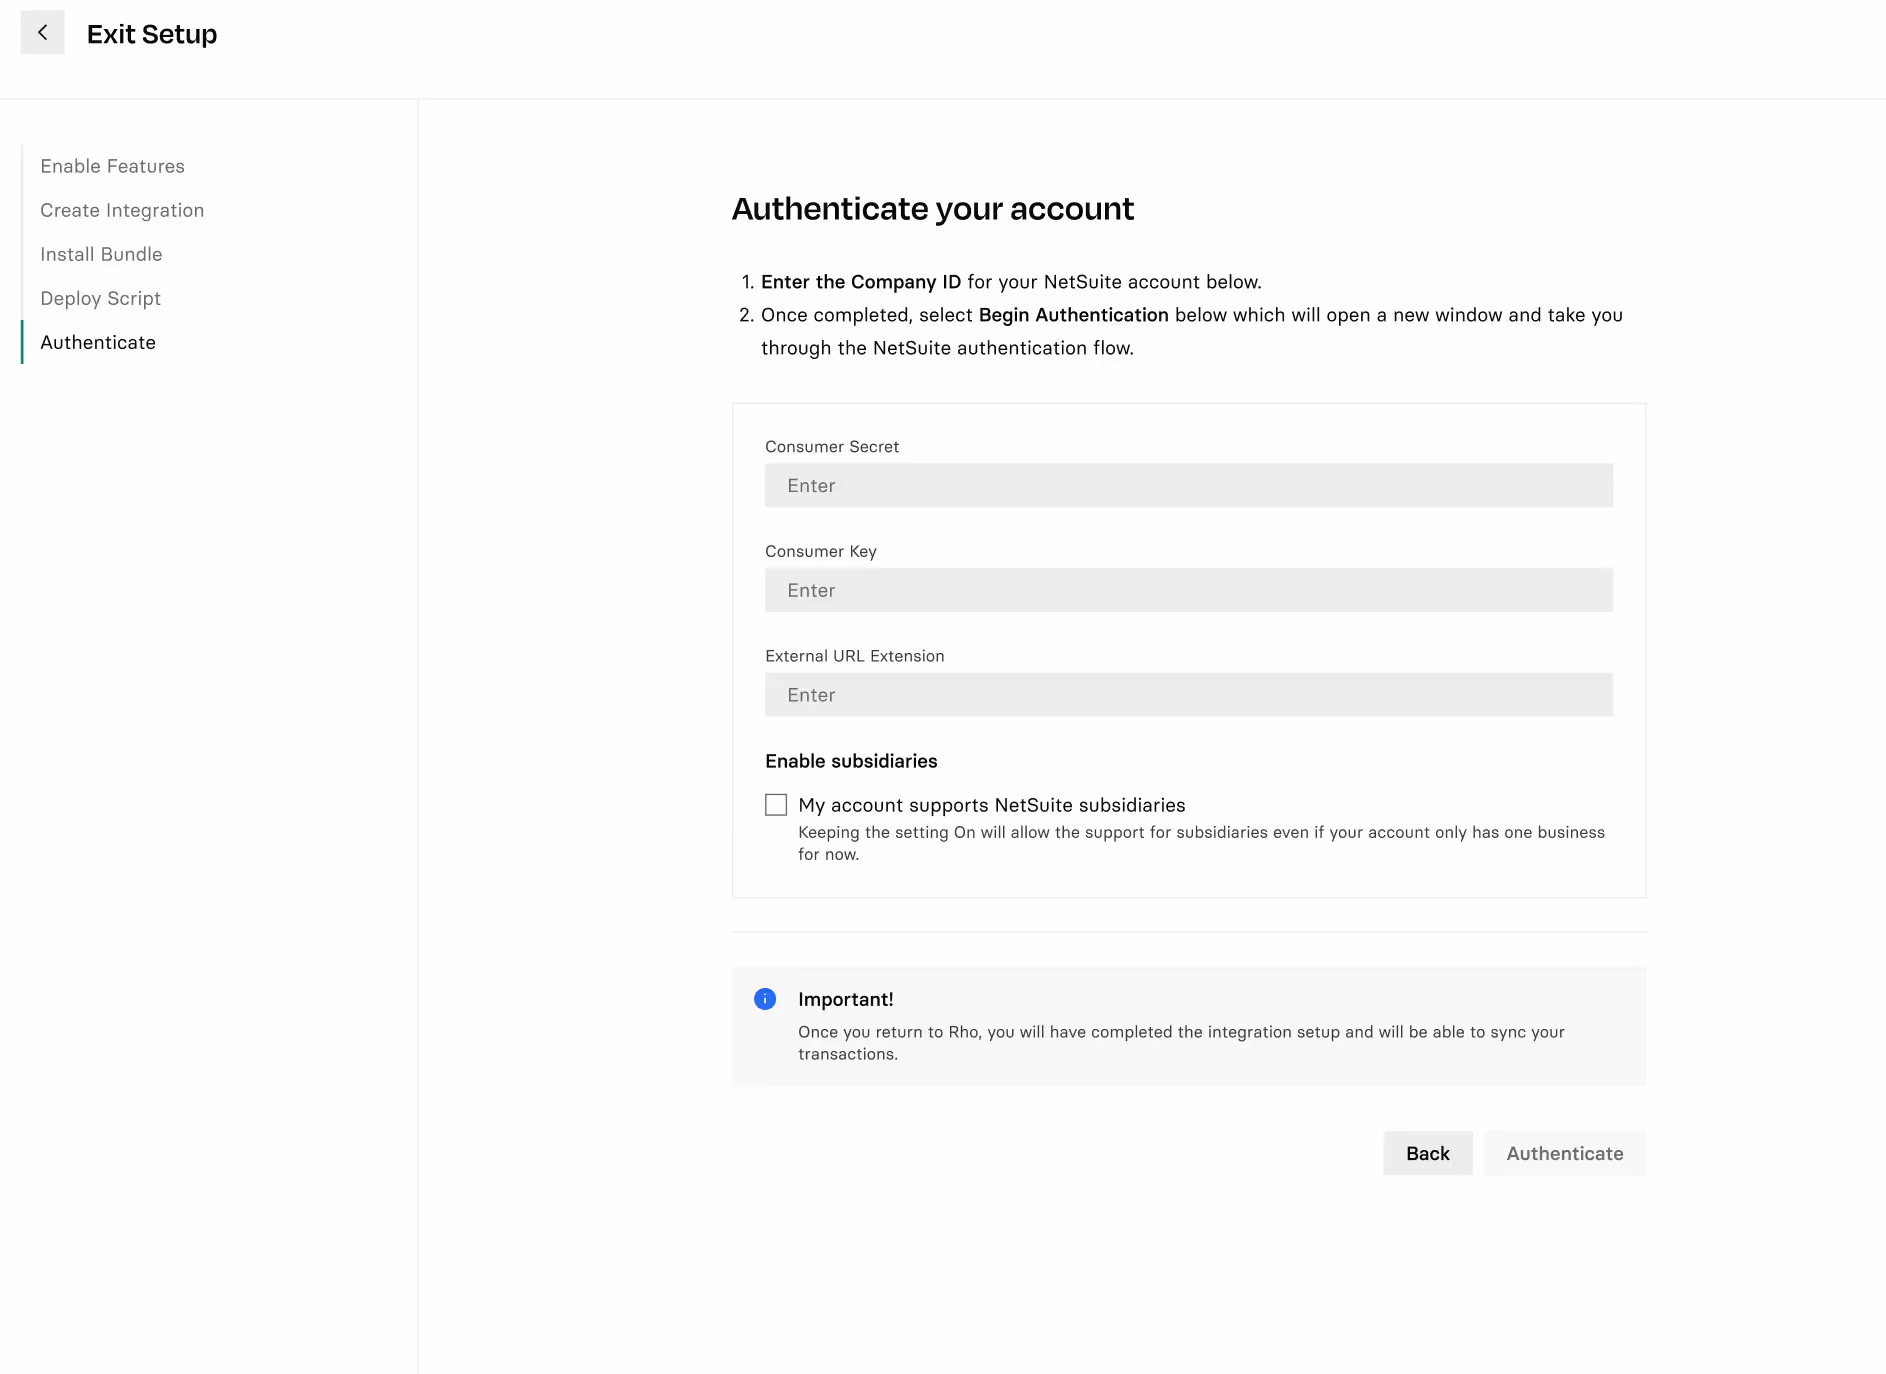
5. Authenticate your account
In Rho, enter the following three details that you saved in Steps 2 and 4:
- CONSUMER KEY
- CONSUMER SECRET
- EXTERNAL URL EXTENSION
Click Authenticate.
6. Allow Rho Integration access in NetSuite
You will be redirected to log in to NetSuite, please enter your NetSuite login credentials.
Grant Rho Integration access to your NetSuite account by clicking Allow.
The connection is now complete and you will be redirected back to Rho.
Next Steps:
Before you proceed, we recommend you speak with your Client Development Specialist who is happy to guide you through this process. The following steps should be completed in the following order.
- Set Up Account Mapping
- Set Up Transaction Mapping
- Sync to NetSuite
Please Note:
Account Mapping allows you to select the Bank, Credit Card, Accounts Payable, and Treasury Chart of Accounts in NetSuite that you would like to map transactions and bills to.
- If you already are tracking Rho transactions in a designated CoA, this allows you the ability to continue posting Rho transactions to that exact CoA.
- If you do not select a NetSuite CoA (via the NetSuite Mapping page) prior to syncing your Rho account, Rho will create these accounts for you in NetSuite and post transactions to those accounts. You may rename this account, but, if you delete this account, the integration between your Rho and NetSuite account will not work.
If you have been uploading .CSV files to sync your Rho account with NetSuite so far, please give us a call, so we can easily get you set up.


.avif)
.avif)